Digital property inspection rounds: checklist and working method
How to build a digital inspection round that works, with checklists, responsibilities, photos and history — from the first check to a fixed fault.
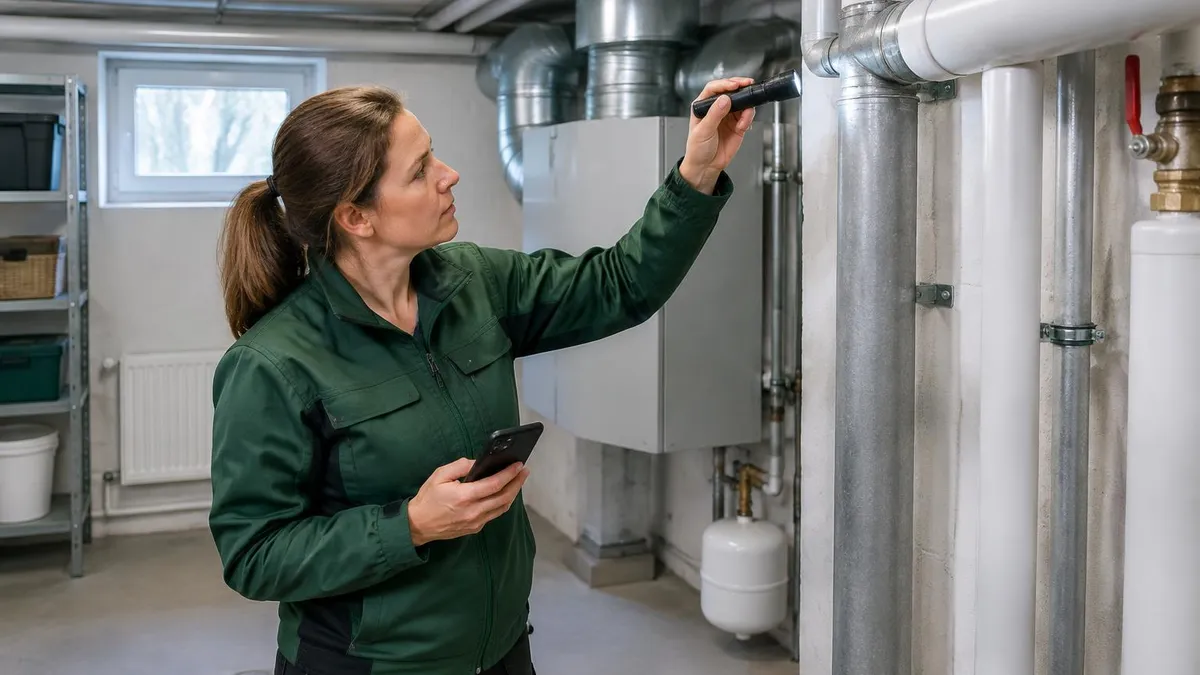
Inspection rounds only create value when observations lead to action. With a digital approach the checklist travels on your phone, deviations are documented on the spot, and the next person can see what has already been done.
What a good round should achieve
The aim is not to tick off as many items as possible. A round should catch deviations early, show who is responsible for the next step and create a traceable history. Tailor each checklist to the property and the type of check being carried out.
Checklist before the first digital round
- Divide check points by building, space or technical system.
- Write short check questions that can be answered on site.
- Decide when a photo or comment should be mandatory.
- State who receives a deviation and when it should be followed up.
- Set a reasonable frequency for each check — not everything needs doing every week.
From deviation to closed case
When something is wrong, the observation should be able to become a case straight away. Location, time, check point and photo should follow automatically. That way the recipient does not have to interpret loose notes, and whoever does the next round can see whether the problem is already known.
Do not close the case until the action has been documented. This provides a basis for self-inspection, planning and recurring faults.
Common mistakes
- The same generic checklist is used in every property.
- Too many items make the round mechanical and unnecessarily time-consuming.
- Deviations are registered but have no owner or deadline.
- Photos are kept on the phone instead of together with the check.
- The history is not used to improve maintenance planning.
The key takeaway
A digital inspection round is one connected workflow: check, deviation, responsibility, action and history.